A CI/CD pipeline helps in automating your software delivery process. What the pipeline does is building code, running tests, and deploying a newer version of the application.
Not long ago GitHub announced GitHub Actions. Meaning that they have built it system for support for CI/CD. This means that developers can use GitHub Actions to create a CI/CD pipeline.
With Actions, GitHub now allows developers not just to host the code on the platform, but also to run it.
Let’s create a CI/CD pipeline using GitHub Actions, the pipeline will deploy a spring boot app to AWS Elastic Beanstalk.
First of all, let’s find a project
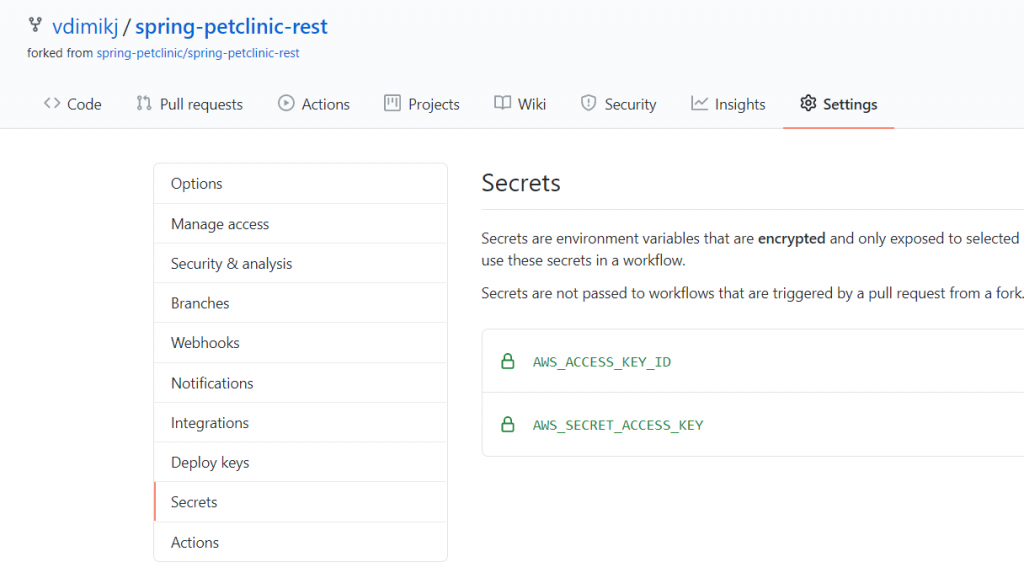
For this purpose, I will be using this project which I have forked:
When forked we need to open the project. Upon opening, we will see the section for GitHub Actions.

Add predefined Java with Maven Workflow
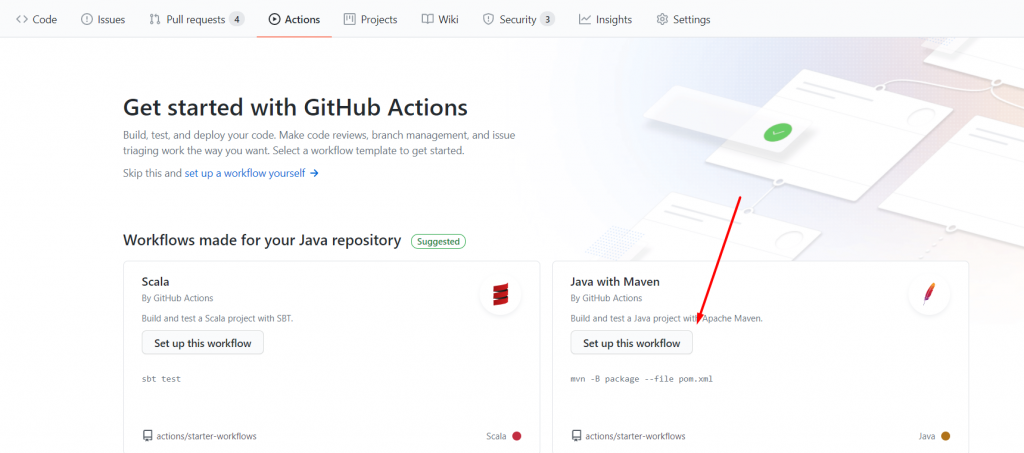
By clicking on Actions we are provided with a set of predefined workflows. Since our project is Maven based we will be using the Java with Maven workflow.
By clicking “Start commit” GitHub Will add a commit with the workflow, the commit can be found here.
Let’s take a look at the predefined workflow:
name: Java CI with Maven

on:
  push:
    branches: [ master ]
  pull_request:
    branches: [ master ]

jobs:
  build:

    runs-on: ubuntu-latest

    steps:
    - uses: actions/checkout@v2
    - name: Set up JDK 1.8
      uses: actions/setup-java@v1
      with:
        java-version: 1.8
    - name: Build with Maven
      run: mvn -B package --file pom.xml
name: Java CI with Maven
This is just specifying the name for the workflow
on: push,pull_request
On command is used for specifying the events that will trigger the workflow. In this case, those events are push and pull_request on the master branch in this case
job:
A job is a set of steps that execute the same runner
runs-on: ubuntu-latest
The runs-on is specifying the underlaying OS we want for our workflow to run on for which we are using the latest version of ubuntu
steps:
A step is an individual task that can run commands (known as actions). Each step in a job executes on the same runner, allowing the actions in that job to share data with each other
actions:
Actions are the smallest portable building block of a workflow which are combined into steps to create a job. We can create our own actions, or use actions created by the GitHub community
Our steps actually setup Java and execute Maven commands needed for the build of the project.
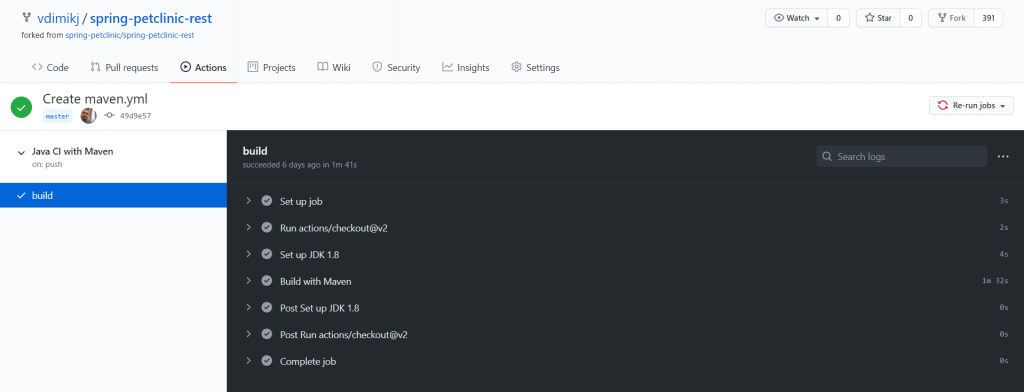
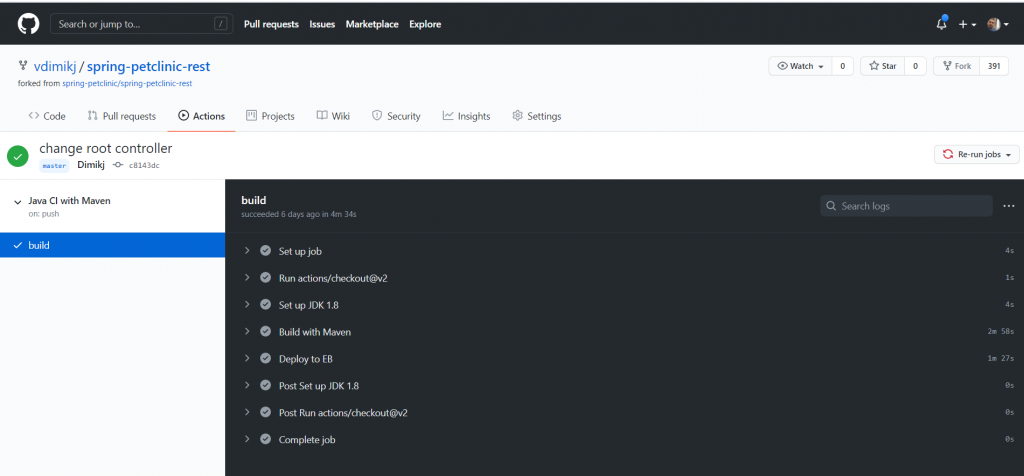
Since we added the workflow by creating commit from the GUI the pipeline has automatically started and verified the commit – which we can see on the following image:
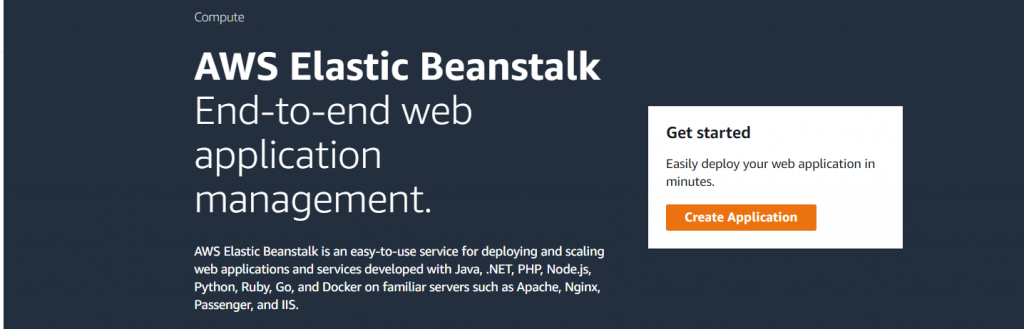
Create an application in AWS Elastic Beanstalk
The next thing that we need to do is to create an app on Elastic Beanstalk where our application is going to be deployed. For that purpose, an AWS account is needed.
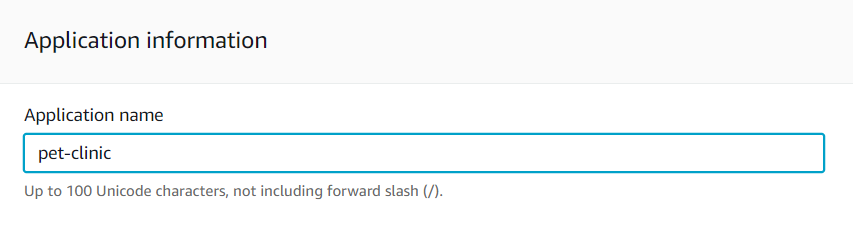
Upon opening the Elastic Beanstalk service we need to choose the application name:
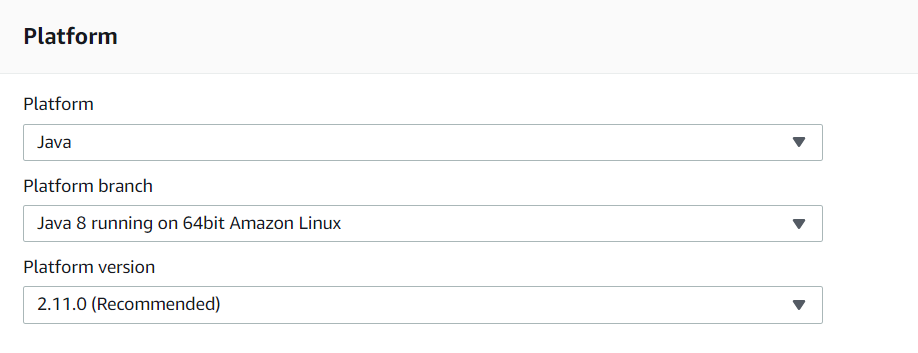
For the platform choose Java8.
For the application code, choose Sample application and click Create application.
Elastic Beanstalk will create and initialize an environment with a sample application.
Let’s continue working on our pipeline
We are going to use an action created from the GitHub community for deploying an application on Elastic Beanstalk. The action is einaregilsson/beanstalk-deploy.
This action requires additional configuration which is added using the keyboard with:
    - name: Deploy to EB
      uses: einaregilsson/beanstalk-deploy@v13
      with:
        aws_access_key: ${{ secrets.AWS_ACCESS_KEY_ID }}
        aws_secret_key: ${{ secrets.AWS_SECRET_ACCESS_KEY }}
        application_name: {change this with aws application name}
        environment_name: {change this with aws environment name}
        version_label: ${{github.SHA}}
        region: {change this with aws region}
        deployment_package: target/spring-petclinic-rest-2.2.5.jar
Add variables
We need to add value into the properties AWS Elastic Beanstalk application_name, environment_name AWS region and, AWS APIkey.
Go to AWS Elastic Beanstalk and copy the previously created Environment name and Application name.
Go to AWS Iam under your user in the security credentials section either create a new AWS access Key or use an existing one.
The AWS Access Key and AWS Secret access key should be added into the GitHub project settings under the secrets tab which looks like this:
The complete pipeline should look like this:
name: Java CI with Maven

on:
  push:
    branches: [ master ]
  pull_request:
    branches: [ master ]

jobs:
  build:

    runs-on: ubuntu-latest

    steps:
    - uses: actions/checkout@v2
    - name: Set up JDK 1.8
      uses: actions/setup-java@v1
      with:
        java-version: 1.8
    - name: Build
      run: mvn -B package --file pom.xml
    - name: Deploy to EB
      uses: einaregilsson/beanstalk-deploy@v13
      with:
        aws_access_key: ${{ secrets.AWS_ACCESS_KEY_ID }}
        aws_secret_key: ${{ secrets.AWS_SECRET_ACCESS_KEY }}
        application_name: pet-clinic
        environment_name: PetClinic-env
        version_label: ${{github.SHA}}
        region: us-east-1
        deployment_package: target/spring-petclinic-rest-2.2.5.jar
Lastly, let’s modify the existing app
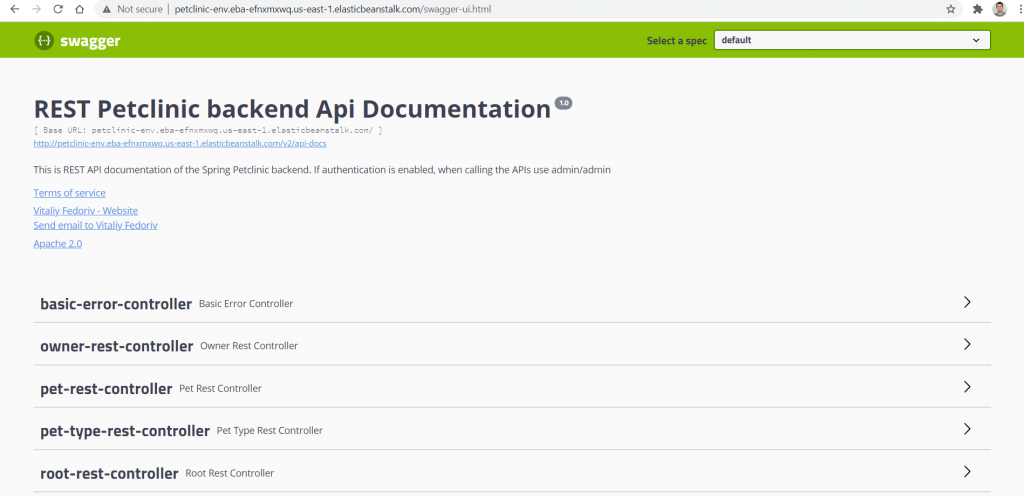
The deployed application in order to be considered a healthy instance from Elastic Beanstalk has to return an ok response when accessed from the Load Balancer which is standing upfront the Elastic Beanstalk. The load balancer is accessing the application on the root path. The forked application when accessed on the root path is forwarding the request towards swagger-ui.html. For that purpose, we need to remove the forwarding.
Change RootController.class:
@RequestMapping(value = "/", method = RequestMethod.GET, produces = "application/json")
    public ResponseEntity<Void> getRoot() {
        return new ResponseEntity<>(HttpStatus.OK);
    }
Change application.properties server port to 5000 since, by default, Spring Boot applications will listen on port 8080. Elastic Beanstalk assumes that the application will listen on port 5000.
server.port=5000
And remove the server.servlet.context-path=/petclinic/.
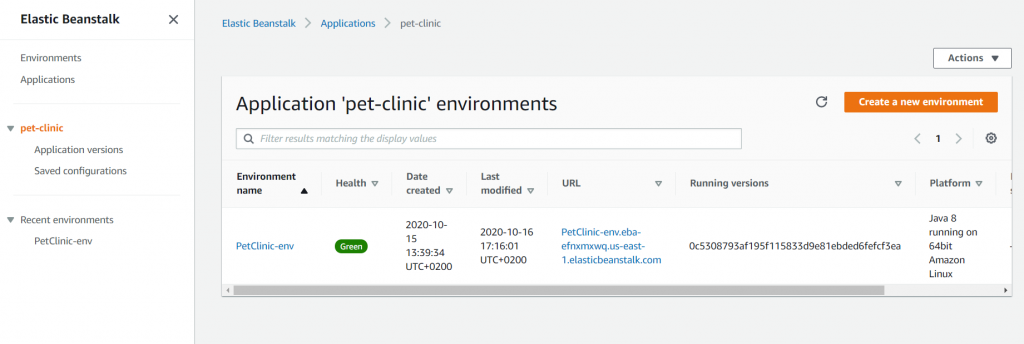
The successful commit which deployed our app on AWS Elastic Beanstalk can be seen here:
And the Elastic Beanstalk with a green environment:
Voila, there we have it a CI/CD pipeline with GitHub Actions and deployment on AWS Elastic Beanstalk. You can find the forked project here.