Securing sensitive data is extremely important. In the following tutorial, we will go through the process of encrypting sensitive data in a Spring Boot application. We will take an easy approach to this very common procedure which takes place in any software project. This will be easy in the context of setup and usage of the given high-security java library. Without the need for deep knowledge/in-depth understanding of cryptography, encryption capabilities and encryption algorithms. Just following a simple setup with a few configuration steps. It is recommended to rely on the secure default configuration, but also Jasypt offers quite some customization if one needs it.
Jasypt (Java Simplified Encryption) provides utilities for encrypting user sensitive information, such as DB passwords, servers’ credentials, or other sensitive personal data. This information is key to users privacy, so we as developers need to make sure that no one gets the right to access them, irrelevant of the place where they are stored, they always need to be encrypted. Never store sensitive data in plain mode. It’s common sense we need to follow and it’s also something we need to honour if we want to gain our user’s trust. For this tutorial, we will use a specific library, Jasypt Spring Boot Starter, widely used across the Spring Boot community.
Jasypt setup steps
- Add jasypt-spring-boot-starter maven dependency in the pom.xml of the Spring Boot project
- Select a secret key to be used for encryption and decryption
- Generate Encrypted Key
- Add the Encrypted key in the config file
- Run the application
Let’s go into details in all of these steps:
Step 1. Adding maven dependency
<dependency>
    <groupId>com.github.ulisesbocchio</groupId>
    <artifactId>jasypt-spring-boot-starter</artifactId>
    <version>3.0.3</version>
</dependency>
This comes as a regular entry in the pom.xml file list of dependencies.
We should try to use latest stable versions. This version is the latest one at this moment and it offers better support for newer versions of Spring Boot. starting from 2.1.x and upwards. Also would advise using this because it comes with a more secure encryption algorithm by default, “PBEWITHHMACSHA512ANDAES_256”.
Step 2. Select a secret key to be used for encryption and decryption
This secret key will be used to encrypt and descript the data. You can think of it as a safeguard to further improve security. What it does, it actually adds a random string to the beginning or end of the input text prior to hashing or encrypting the value. This secret key goes in the property file, application.yml/application.properties in the Spring Boot project itself.
jasypt:
     encryptor:
           password: salting
Step 3. Generate Encrypted Key
Jasypt supplies a lot of (CLI) tools. In order to use these tools, you should download the distribution zip file (named jasypt-$VERSION-dist.zip) and unzip it. There will be an appropriate .bat or .sh file for the needed operation digest/encrypt/decrypt.
Example for encryption
$ ./encrypt.sh input="This is my message to be encrypted" password=MYPASSWORD
Example for decryption
$ ./decrypt.sh input="8fsdfdsafdsa9ffsad0fdsa0fdsfdsa3231x" password=MYPASSWORD
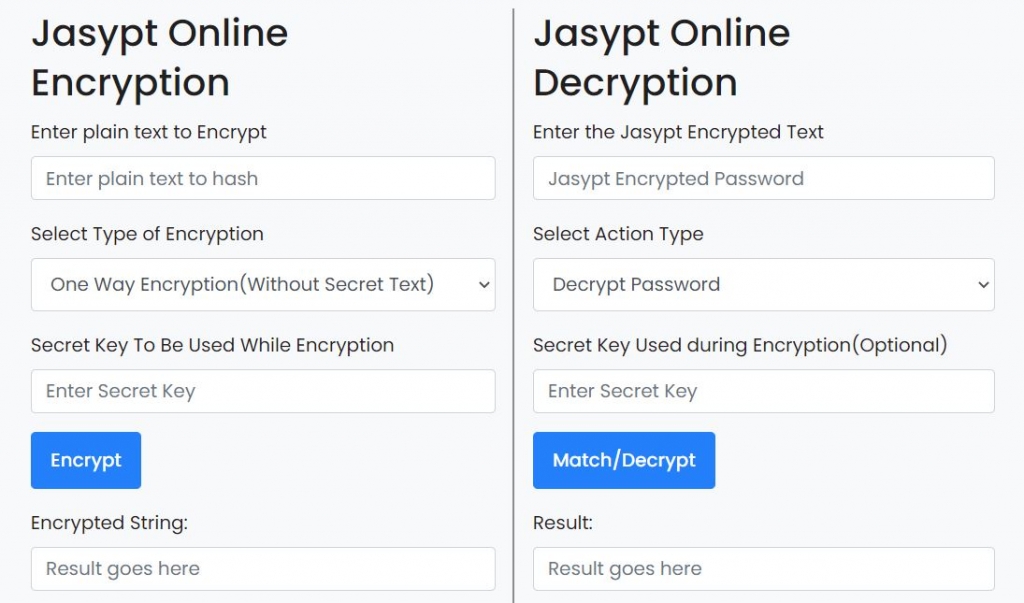
Another way of using Jasypt for encrypting your data is by using some online tools that provide Jasypt operations.
The simplest and most convenient way is a maven plugin. Not only that you can use it for a single value, it offers the capabilities to encrypt all sensitive data with a single command, meaning all placeholders will be updated in one step.
<build>
  <plugins>
    <plugin>
      <groupId>com.github.ulisesbocchio</groupId>
      <artifactId>jasypt-maven-plugin</artifactId>
      <version>3.0.3</version>
    </plugin>
  </plugins>
</build>
This jasypt-maven-plugin, by default, will check for configuration files under ./src/main/resources, or the regular Spring Boot resource folders. But also, Environment variables can be used to supply this master password. Instead of exposing the password “salting” inside the project itself, an Environment Variable can be created with, for instance, ENCRYPTION_MASTER_PASSWORD and then in the config file, password: ${ENCRYPTION_MASTER_PASSWORD}.
Example for encrypting a single value from a terminal.
This example uses the encryption password as an argument. Important, the terminal session needs to be opened where the pom.xml file with the maven plugin is located.
mvn jasypt:encrypt-value -Djasypt.encryptor.password=salting -Djasypt.plugin.value="secureDataWeNeedToEncrypt"
Example for encrypting all strings within projects property file.
The last argument is optional since Jasypt will scan that location anyway. What is important is that sensitive placeholders in the application property file MUST be wrapped in DEC() parenthesis. Activedirectory:password: DEC(supersecret) OracleDB:password: DEC(alsosupersecret).
mvn jasypt:encrypt -Djasypt.encryptor.password=salting -Djasypt.plugin.path="file:src/main/resources/application.yml"
If the previous statement completed successfully then, all sensitive data should be updated with their encrypted value. Updated properties output should be something like, Activedirectory:password: ENC(sFJDfdsfjjA8saT7YC65bsf71d0) OracleDB:password: ENC(34jjfsdfds+fds/fsd7Hs)
Step 4. Add the encrypted key in the config file
If you have been using the latest approach, then the application.properties/application.yaml files have already been updated with the newly encrypted values. All sensitive data wrapped with a DEC() is now encrypted, and all other strings in the configuration remained unchanged. If some of the other approaches were chosen, going one placeholder at a time, or using the cli, then we need to update the configuration file entries one by one. Still, the properties need to be wrapped in ENC() parenthesis anyway, since the output of the cli is only the encrypted value.
For the reverse process, it’s vice-versa, the first argument of the statement is: decrypt and all placeholders must be wrapped in ENC() parenthesis before execution.
Step 5. Run the application
That’s it. Your Spring Boot project will automatically decrypt all sensitive data when you start the application, no additional configuration is needed. Let me know in the comments section how was your experience. Was it smooth or are there some ongoing issues?


Hi Jovan,
May I know the steps to re-encrypt the already encrypted file using some other password.
I tried encrypting the encrypted file but old encrypted string is not getting changed to new encrypted string in the file.
Hi Sathish, thanks for reaching out.
If your goal is to change already existing encrypted properties, you must first decrypt the value with old privatekey then, copy the value in its pure form, then switch the configuration and run the encryption goal with the new configuration. A faster approach to this, is using the maven plugin for that same purpose. You first need to add the old configuration jasypt.plugin.old instead of jasypt.encryptor and execute this:
mvn jasypt:reencrypt -Djasypt.plugin.old.password=OLD -Djasypt.encryptor.password=NEW
Please check this link as well:
https://github.com/ulisesbocchio/jasypt-spring-boot#re-encryption
Hi Jovan,
If you store the jasypt.encryptor.password in your propertyfile together with the encrypted passwords, anyone who gets access to this can decrypt the other passwords.
So how is this keeping your passwords safe?
Hi there Daniel, thanks for raising that question. Well, you can achieve better security by putting the master password as an environment variable, that is the approach we are using. So then only users with permissions can get access to it.